

So as I begin to teach myself new things such as WSL, the first thing that I always try to do is ensure my work is protected & secured, so as I mess things up (and boy do I..,) my work it’s still protected, making it easy to start over.
I’ve created a shell script that I’ve been using for a long time that backs up all of my stuff to Google Drive and Amazon S3 Buckets, and i’ll write about at a later time, but today’s post talks about getting Cron running within Ubuntu in WSL, and to do that we need to use the built in task scheduler on Windows 10.
This is the first time I’m managing a *nix server in a Windows environment versus using WinSCP & PuTTy to get to my work so it’s very differernt experience.
I’m running Ubuntu 22.04 LTS on WSL2 on Windows 10 (22H2). By default, Cron does not start automatically in WSL2. I discovering this the hard way by assuming my crontab entries, postfix settings or script was wrong 🙁
Prepare Ubuntu
The first thing we have to do is allow the Ubuntu installation to start cron without a password or sudo. When you start a service like cron, you use the command sudo service cron start. Sudo requires user interaction, and a windows installation wont have that when it starts up. The way around this is to turn off the requirement for a password.
You’ll need to open your WSL console (typically c:\windows\system32\wsl.exe) or, if you have it installed, type Terminal, then type:
sudo visudo
Hit Enter on your keyboard, enter your Root user password, and hit the Enter key again. If you’re using Ubuntu, this opens the sudoers file using Nano.
Add the following command to the bottom of the sudoers file:
%sudo ALL=NOPASSWD: /usr/sbin/service cron start
and then press Ctrl+O to save and Ctrl+X to exit the file.
This sudoers command says that any user who has enough privileges to use the sudo command doesn’t require a password to run the command sudo service cron start, which starts the cron daemon.
After you’ve saved the file, you can check that the command is doing its job by typing:
sudo service cron start
and it should start cron without asking for a password. If that worked, let’s turn cron off again so that we can test that the task we’re creating in the next step works properly. To do that, please run:
sudo service cron stop
Prepare Windows
Tap the Windows key on the keyboard, and then search for and launch the “Task Scheduler” shortcut:
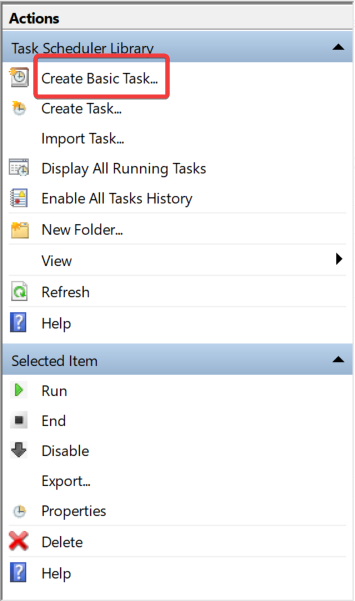
Once it’s running, look under the “Actions” section and select “Create Basic Task”:
Step 1: Give it a Name & Description:
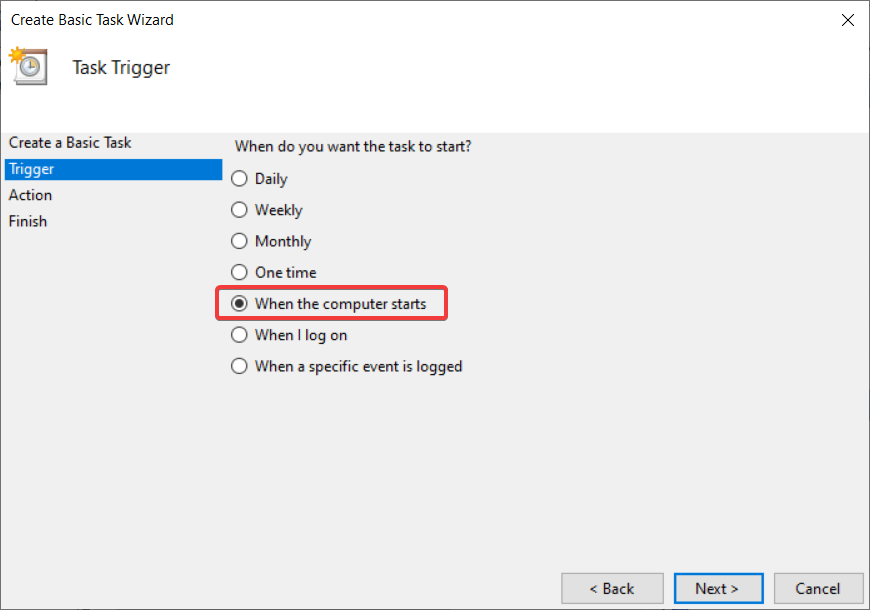
Step 2: Define Task Trigger:
Step 3: Define Task Action.
In this case the The Program/Script is c:\windos\system32\wsl.exe & the Add Arguments are sudo /usr/sbin/service cron start:
The select Next & Finish.
Step 4: Test.
Lets verify that what we’ve done is working. Go back to your WSL Console or Terminal and type:
sudo service cron stop
Then exit out of the session and reboot your computer. Once you’ve rebooted, log back into Ubuntu and type:
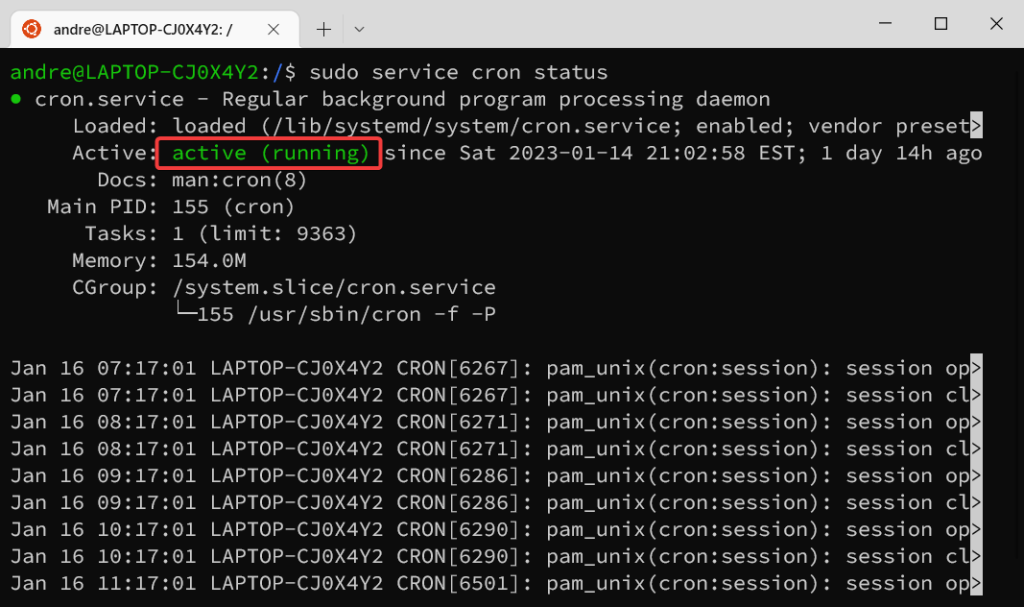
sudo service cron status
and you should see the Cron service Active and Running:
Now with cron running consistantly & automatically on WSL2 on Windows 10, you can schedule backups and other tasks (like automating updates) and know that your schedule will run as planned!